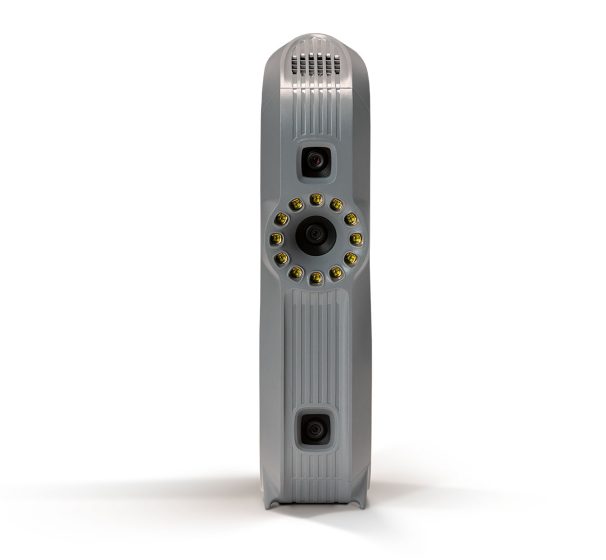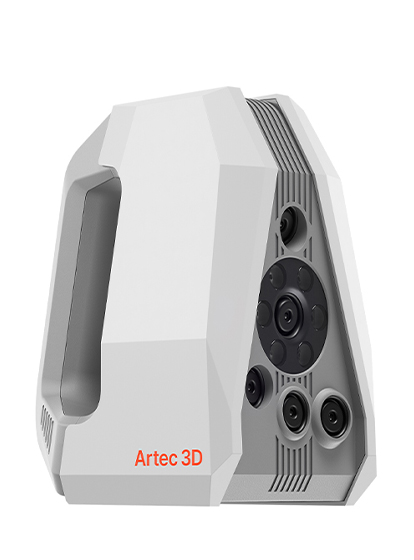
Micro II
The automated desktop 3D scanner with greater metrological accuracy
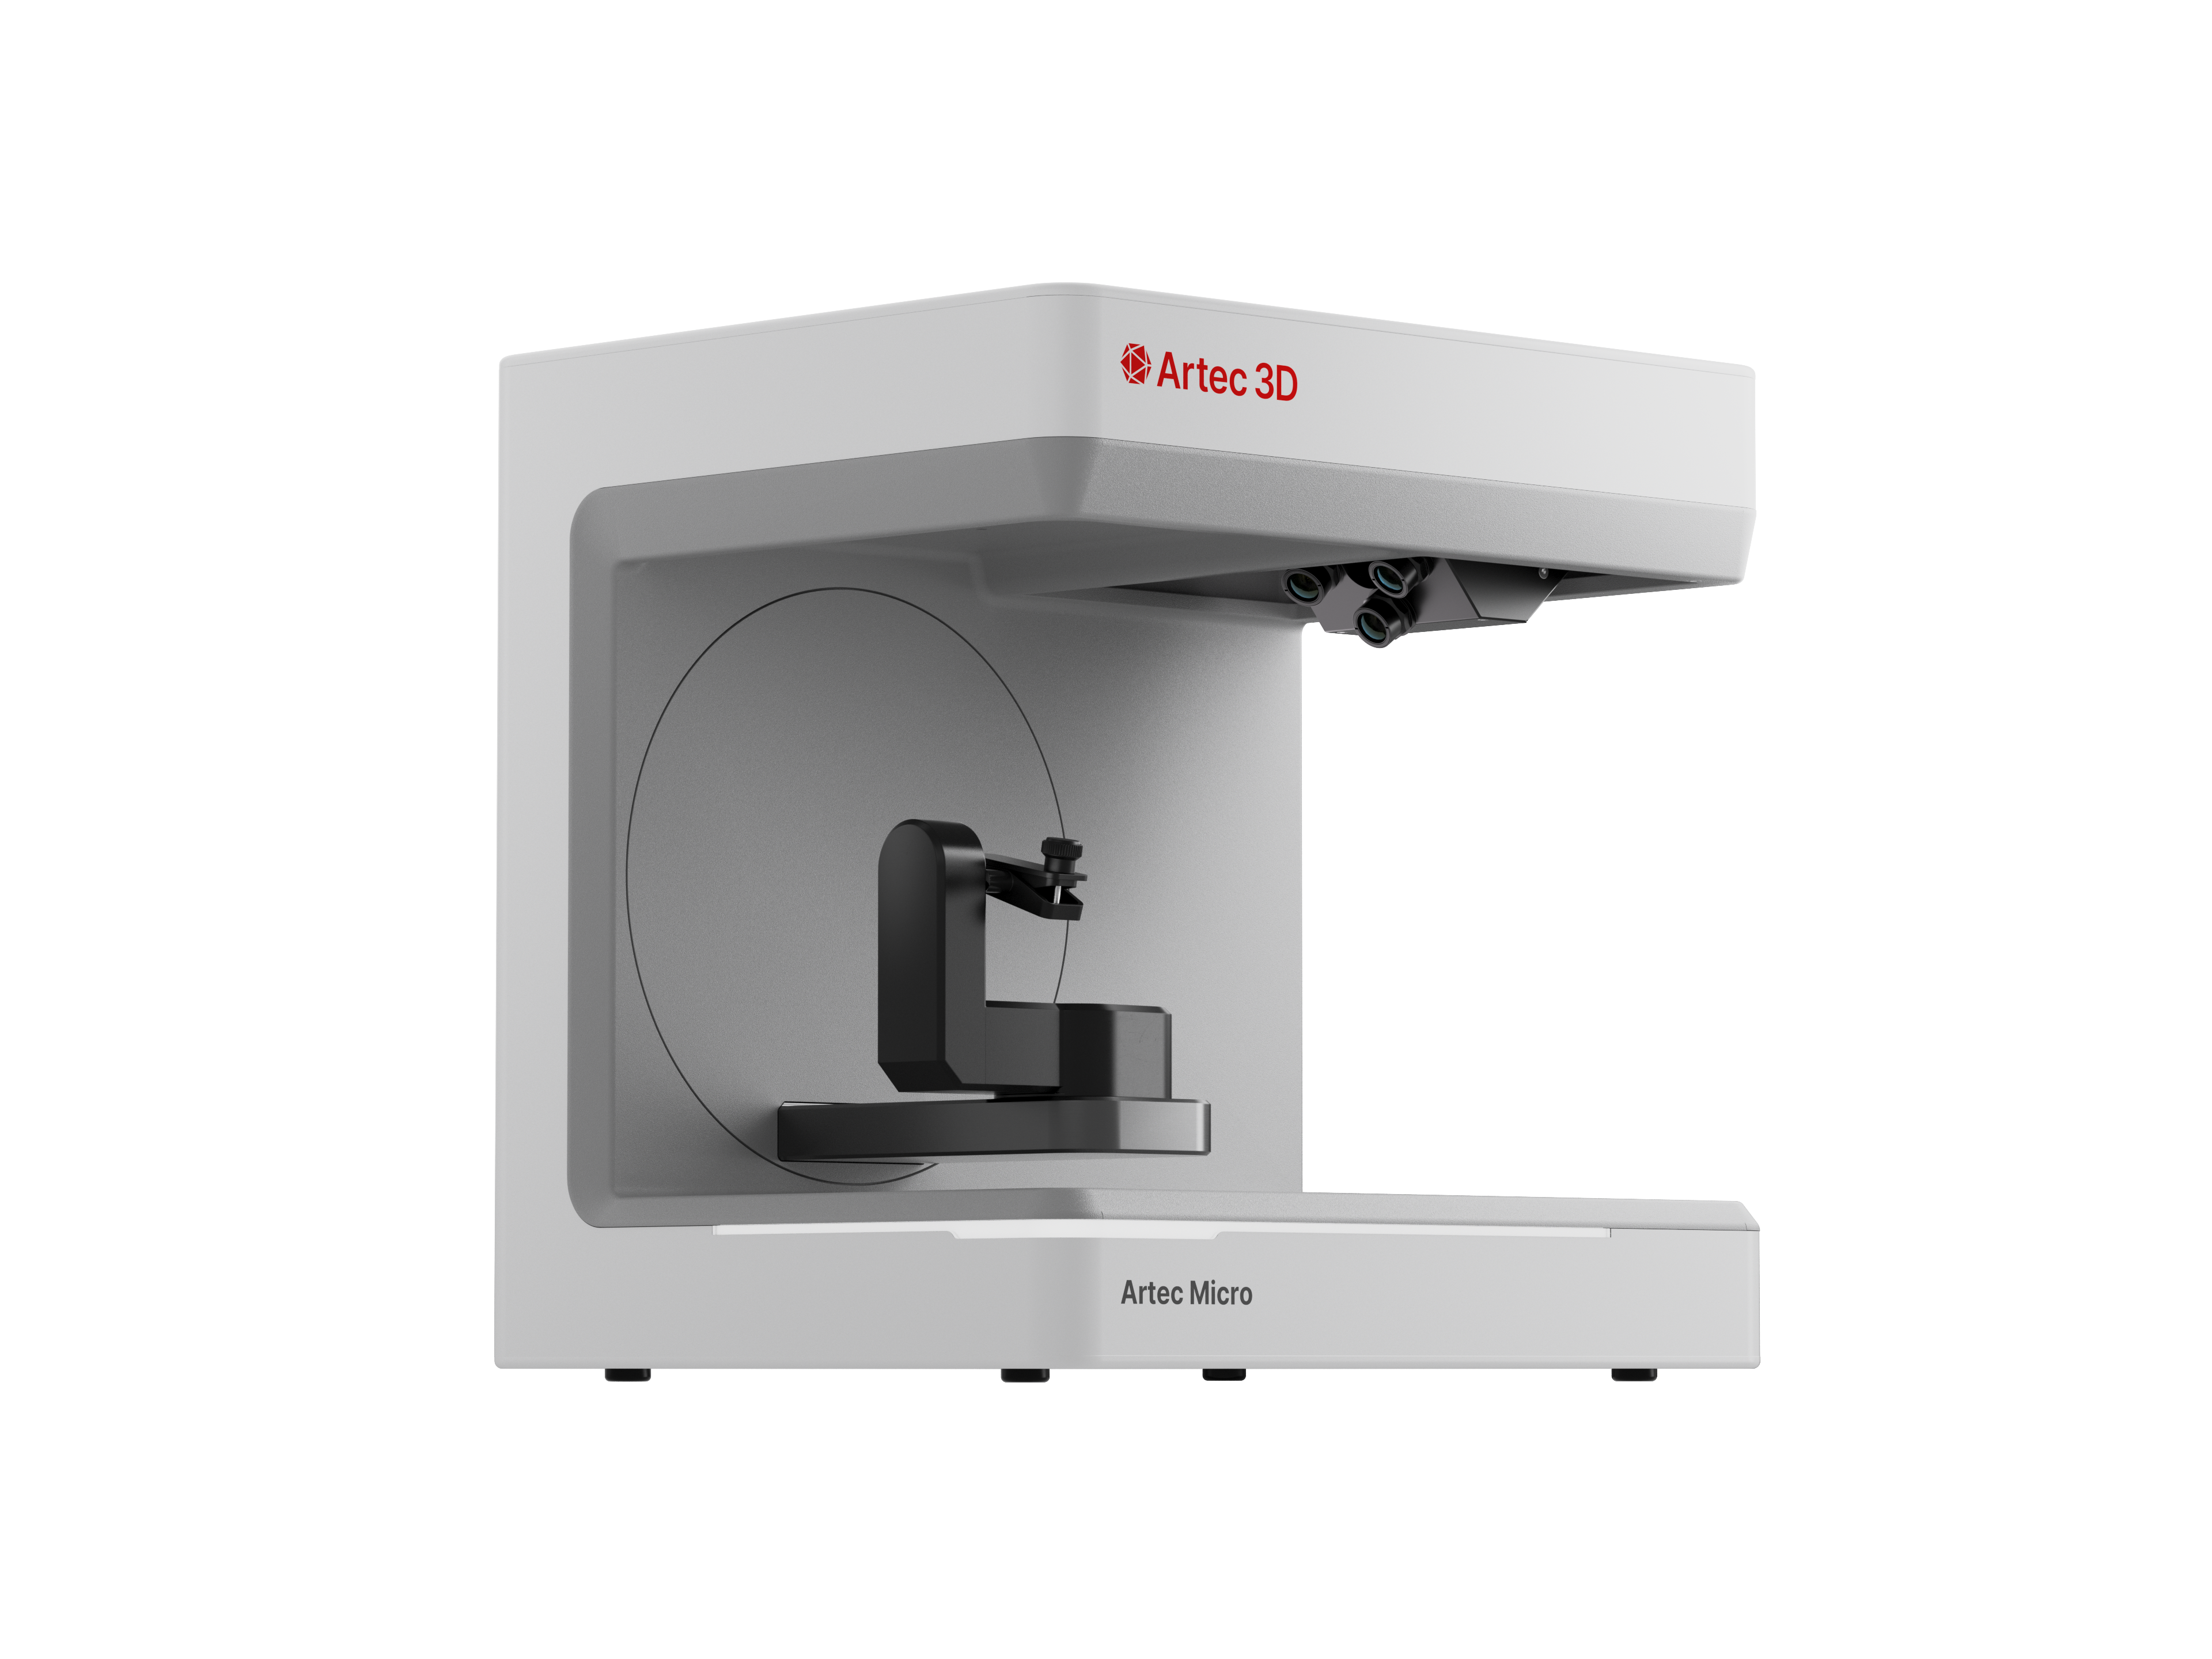
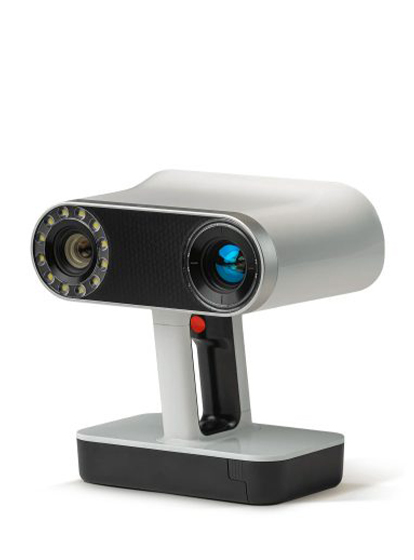
The Artec Micro II desktop 3D scanner is fully automated. Designed to deliver metrology-level scans in a single click. Perfect for quality control of small objects, reverse engineering, precision mechanics, dentistry, jewelry, design and more. Artec Micro scans with a point accuracy down to 5 microns.
Increasingly accurate
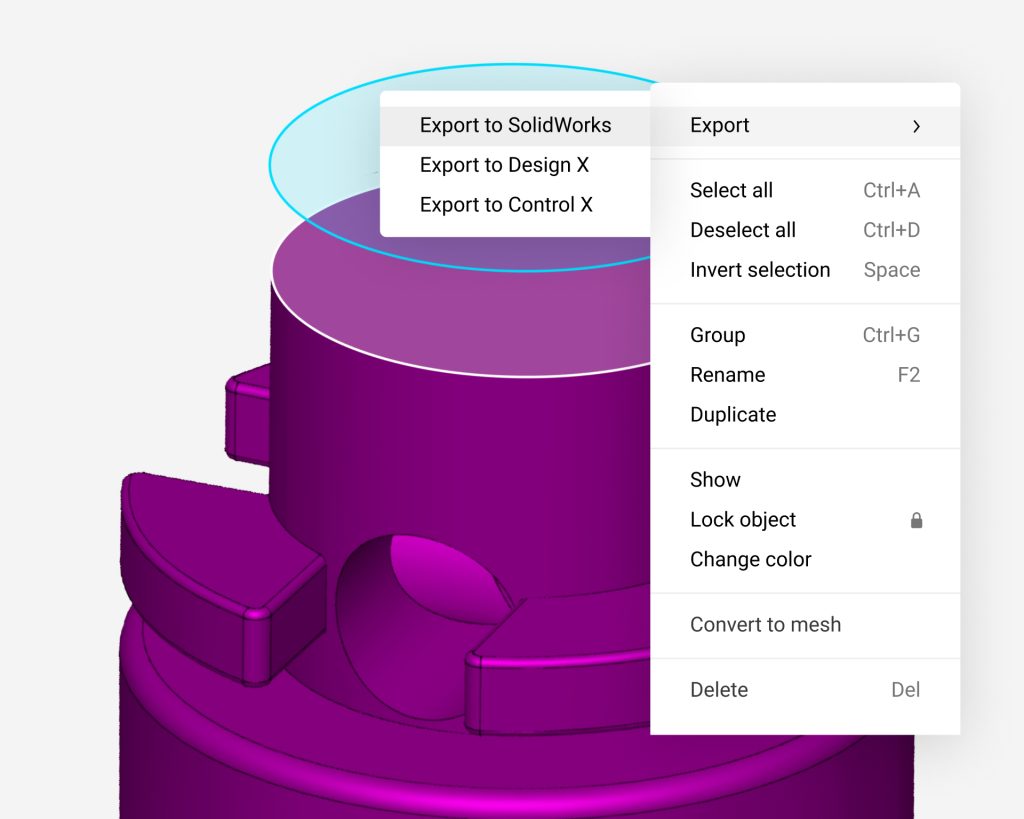
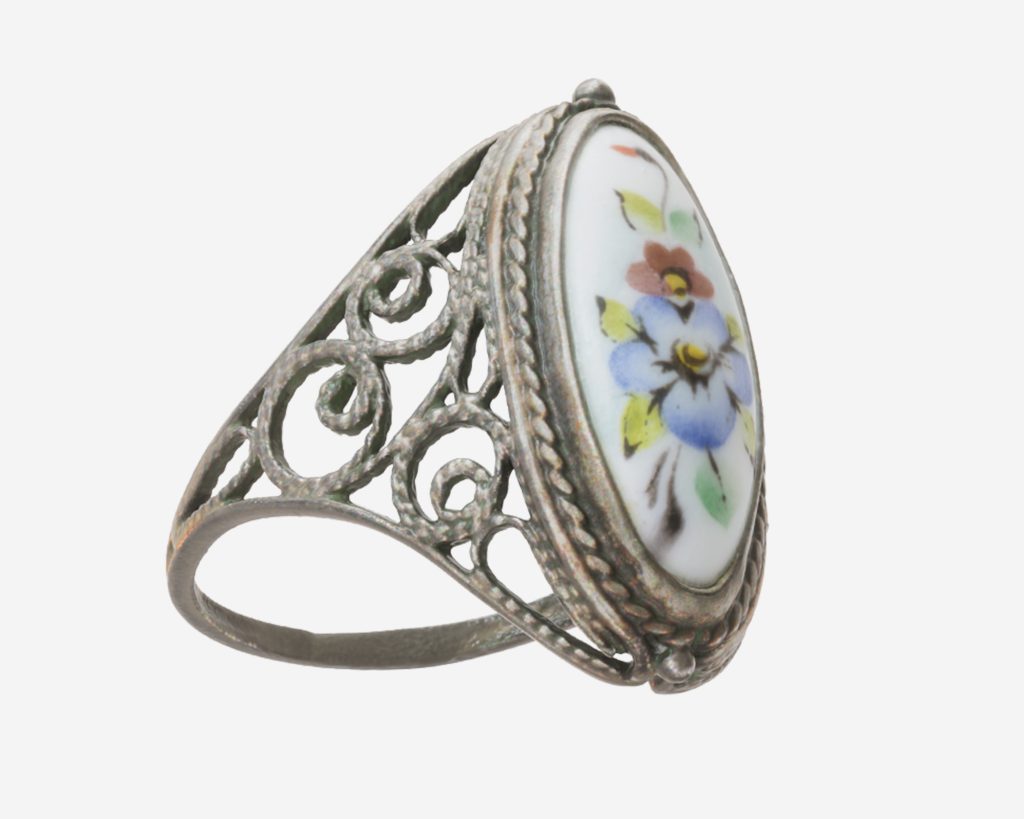
Equipped with even greater accuracy than its predecessor, as well as a wider field of view and the same compact form, Micro II is a fully automated desktop 3D scanner that enables professional reverse engineering and quality inspection effortlessly. Just one click to activate it and this 3D scanner for small objects provides a rigorous 5-micron accuracy and creates highly accurate 3D color models of industrial, dental or jewelry parts. And you can even combine its scans with photogrammetry data to take hyperrealism to a whole new level, right at your desk.
Metrology-level accuracy for small parts
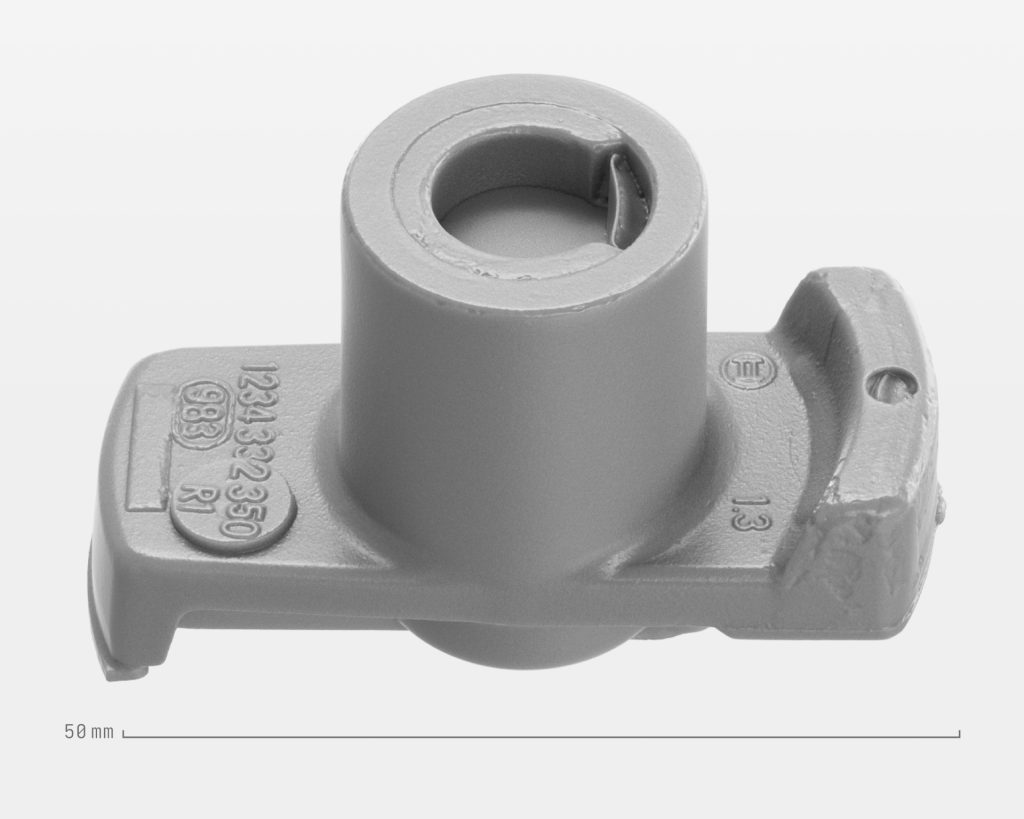
High-quality data and point accuracy down to 5 microns: Micro II is the ideal 3D scanner for high-level reverse engineering and quality inspection of small and tiny parts. Scan everything in the highest quality!
Scanning in the palm of your hand
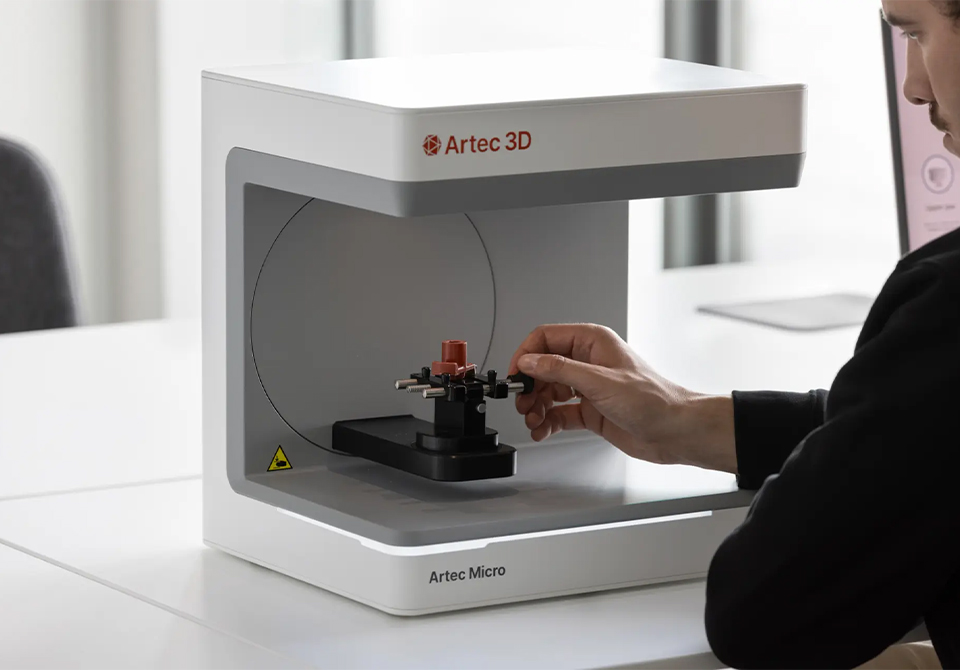
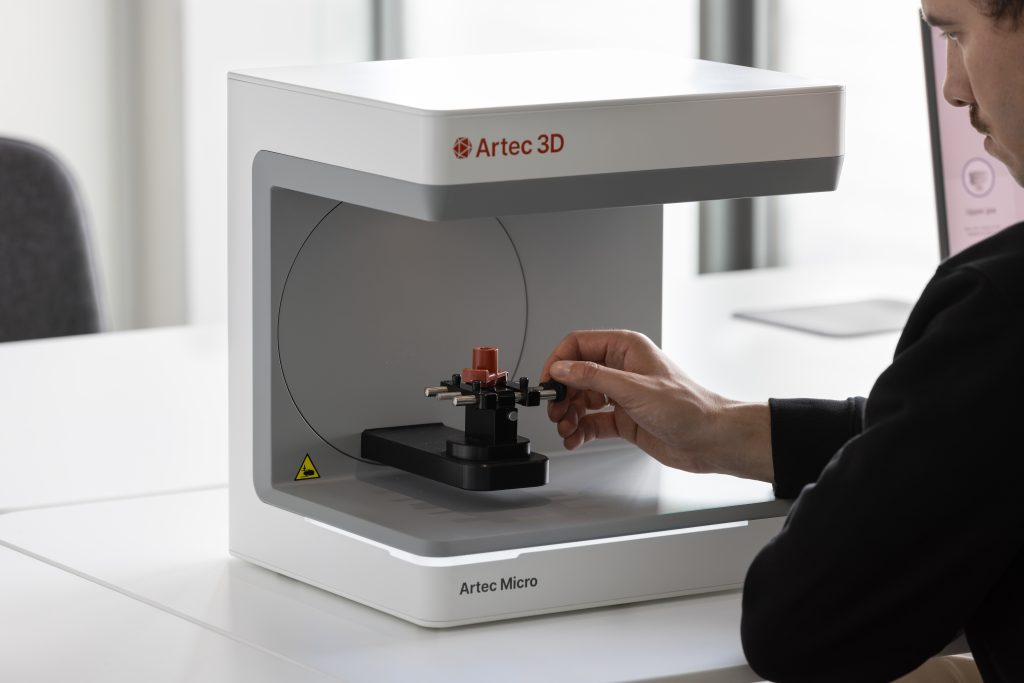
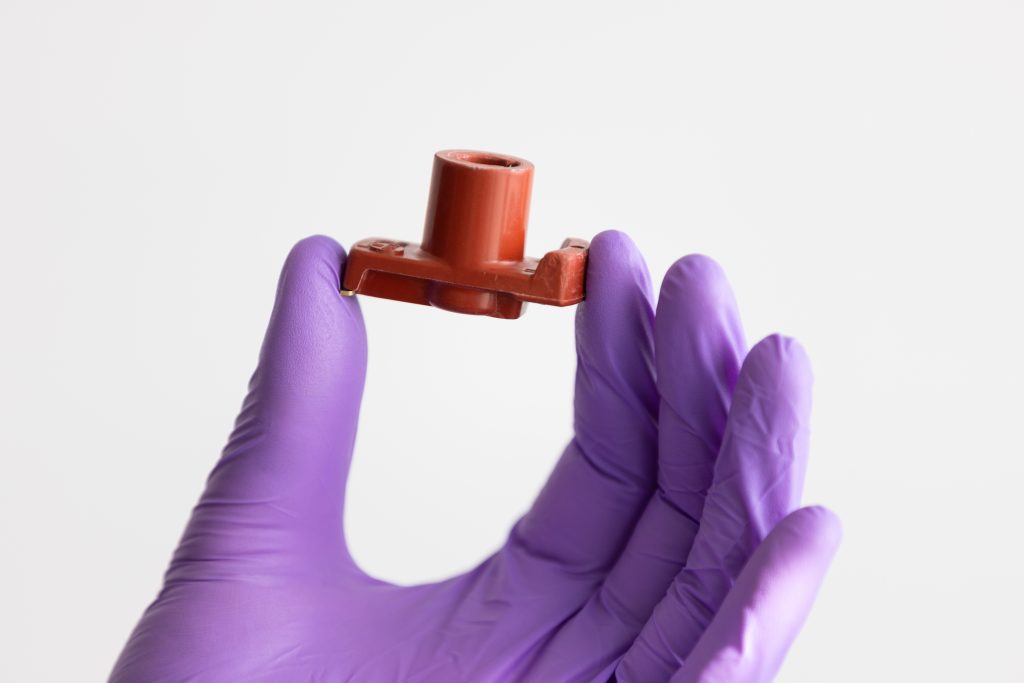
From small objects that you can hold between two fingers to those that fit in the palm of your hand (20 × 20 × 15 cm), you can use Micro II directly on your desk, without any necessary effort on your part and especially without having to apply stickers to the object.
Data acquisition at the speed of light
With 1,000,000 calculations made per second, your 3D scanner acquires and processes more than 140 million image points per second.
In full color
Scan your objects in color with Micro II. For hyper-realistic 3D models, add colors from high-resolution photos using Artec Studio's photo texturing feature.
Download
Would you like more information about the Micro II scanner? Leave us your details and you will be contacted by one of our experts.
"*" indicates required fields


